Mach3 Configuration and Testing of a C11G and UC100
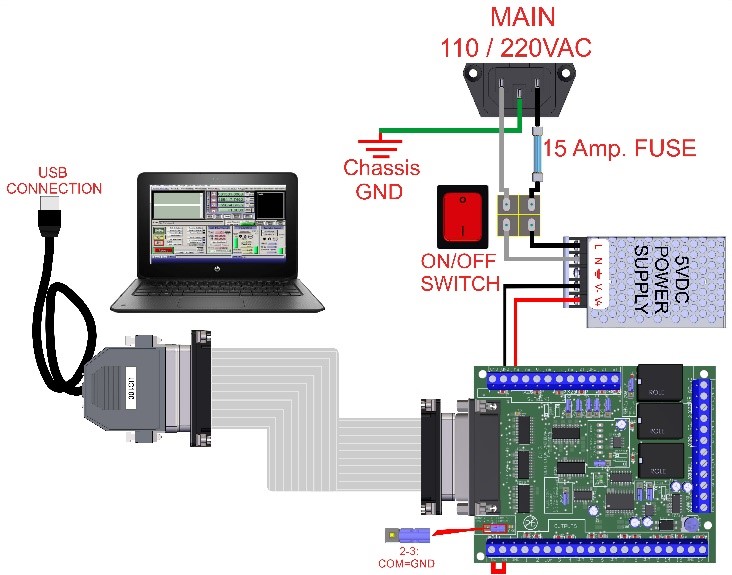
STEP 1: Ensure the controller is connected to a USB port on the PC and is powered on, with the LEDs turned on.
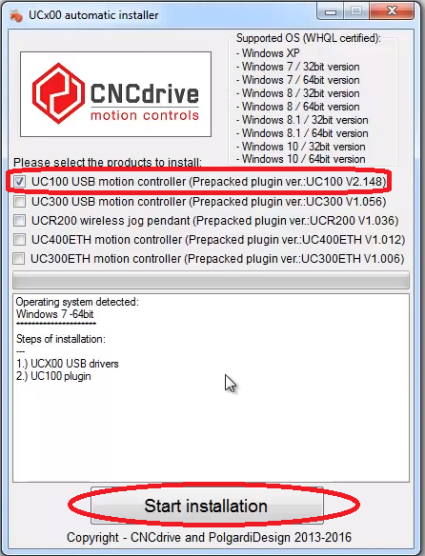
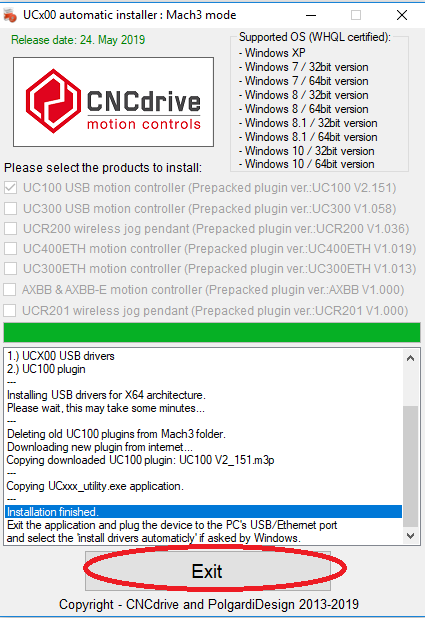
STEP 2: Run the UC Utility program to establish the connection.
https://www.cnc4pc.com/pub/media/productattachments/files/UC100_V2_151.zip
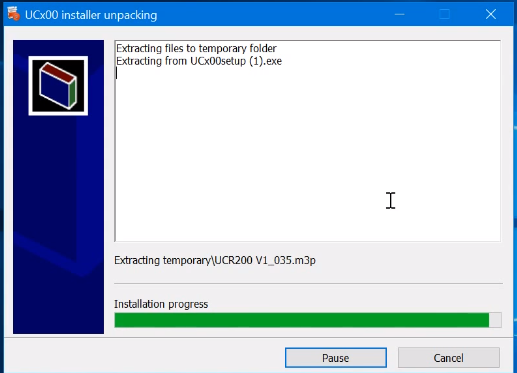
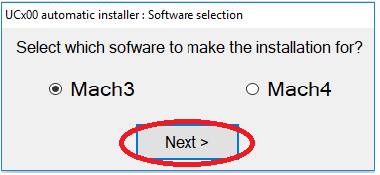
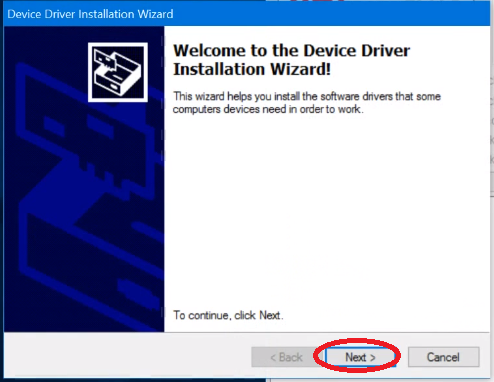
STEP 3: Look at the following pictures of how to install Mach3
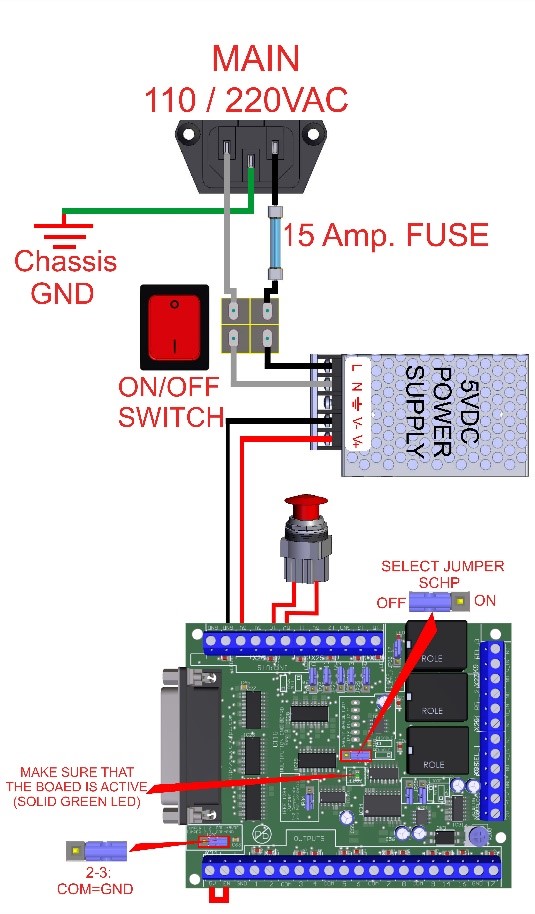
STEP 4. Connect an E-Stop button to short the E-Stop terminals, and disable the Safety Change Pump (OFF). This should give you a green LED. IF not, check other possible fault conditions and make sure they are not active.
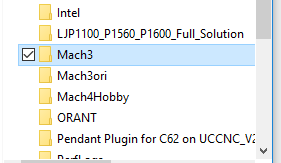
STEP 5: Download and copy the XML configuration file for Mach3 and save it in the Mach3 folder. Rename it if you want to give your profile a specific name.
XML:https://cnc4pc2.s3.us-east-2.amazonaws.com/Tech_Docs/C11G.xml
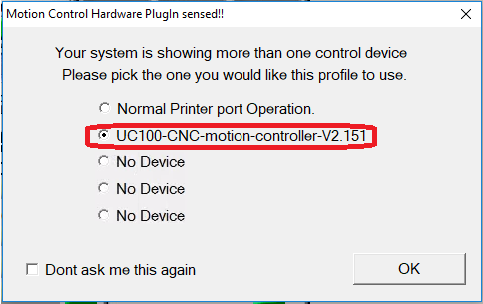
STEP 6: Start Mach3 Loader using the new profile you downloaded and select the UC100USB as the default motion device. You should get the green LED when you press the reset button, and you can proceed to set the travel info for the axes and set up the max spindle speed for the spindle.

STEP 7: Save your configuration and restart Mach3.
STEP8: Test the E-Stop by opening the circuit a confirming the green LED goes off. You can now enable the SCHP back on by moving it (ON, so it will be the control software that will enable the system. The Safety Charge Pump can be activated or deactivated depending on the jumper's position.
