Overview:
This combination of macros and screen allows the user to configure the plasma without commanding motion on the Z axis, but to set all the parameters in the screen DRO fields so the operator can adjust the parameters as needed for the job.
M3 Macro performs the following actions:
- Probes or moves down the Z axis to the Z Min position that is set in the DRO for this value.
- Set the current position to be the new Z = Zero.
- Moves the Z up at max velocity to the piercing position or DRO = HEIGHT.
- Turn on the Torch.
- Wait for pierce time or DRO = THC Delay.
- Activate THC.
M5 Macro performs the following actions:
- Turns the torch off.
- Deactivates the THC.
- Moves the Z axis at max speed to the position where it would be safe to move at max speed to the next cutting position. This is DRO = Z Top.
The screen holds the new DRO values and also has the code that will enable the probe while the system is probing.
Software Used: UCCNC Version 1.2115
http://www.cncdrive.com/UCCNC/setup_1.2115.exe
Hardware Used: C94R2 and UC300ETH
Before installing the macros and screens, make sure you have the Touch Sensor and Torch Height Control units wired, configured, and tested and that they are working ok:
Plasma Torch Height Control Configuration
STEP 1: Start by making a backup of the existing installation:
Make a backup of the configuration and file installation. We recommend creating a backup of the current installation by right-clicking in the current installation folder and zipping it.

STEP 2: Download and install the new screen and macro files:
Download the compressed file containing the macros and screen that work with the macros:
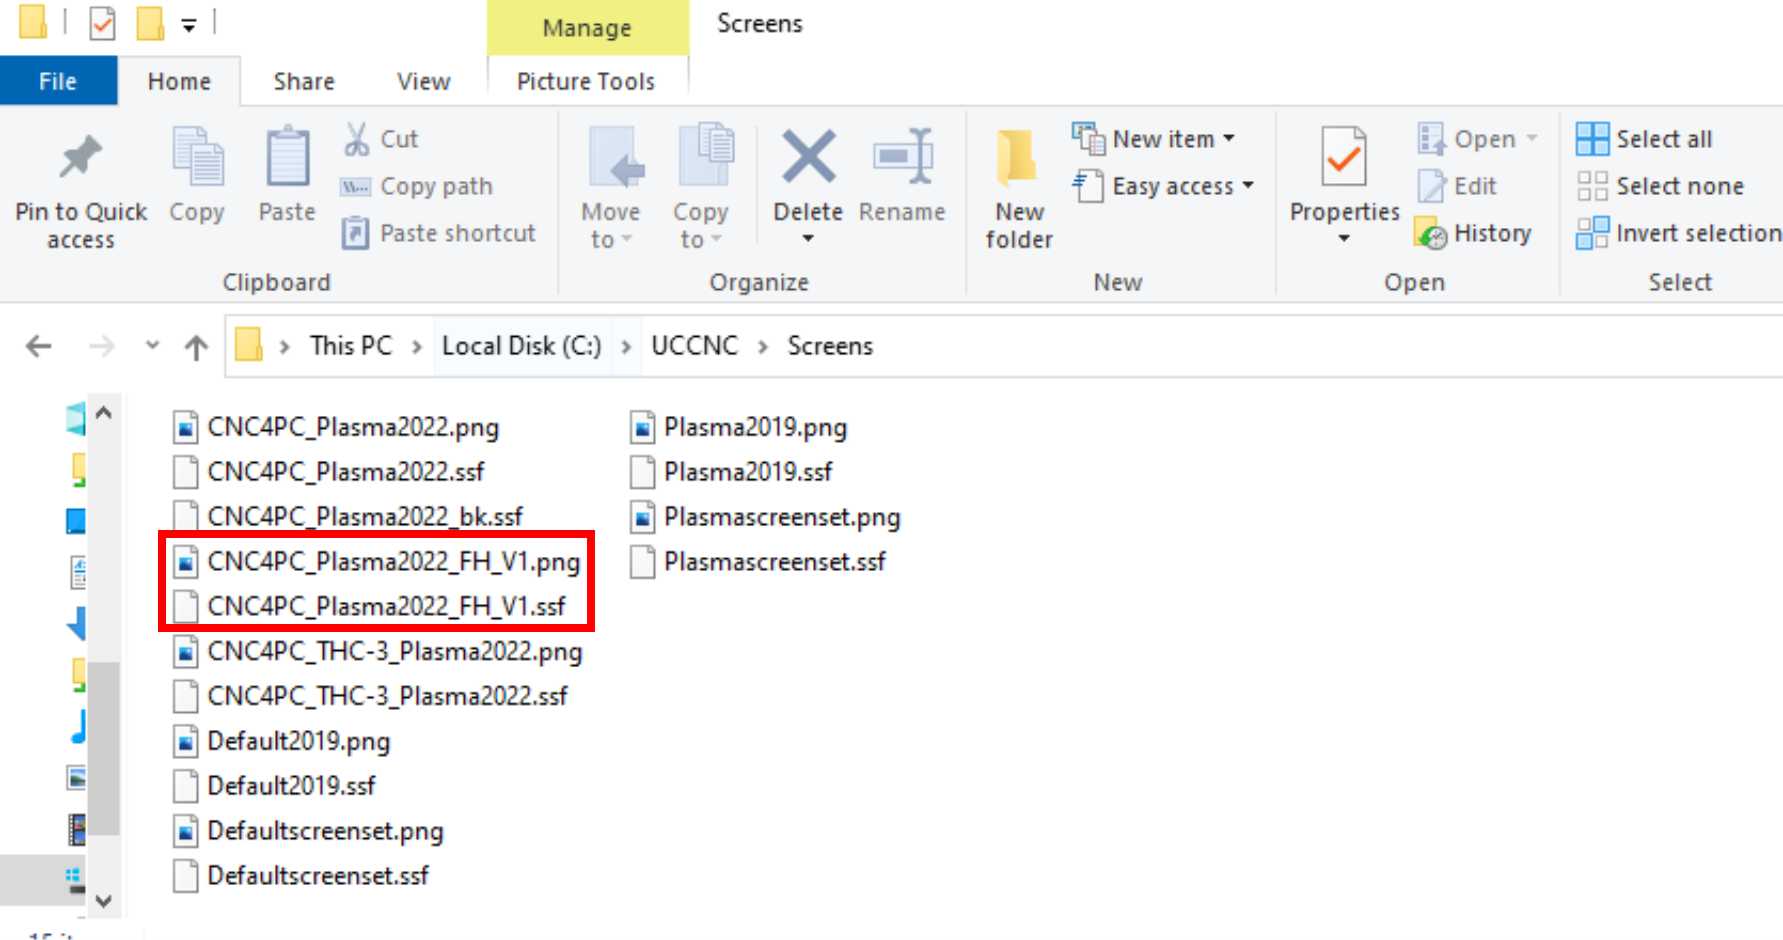
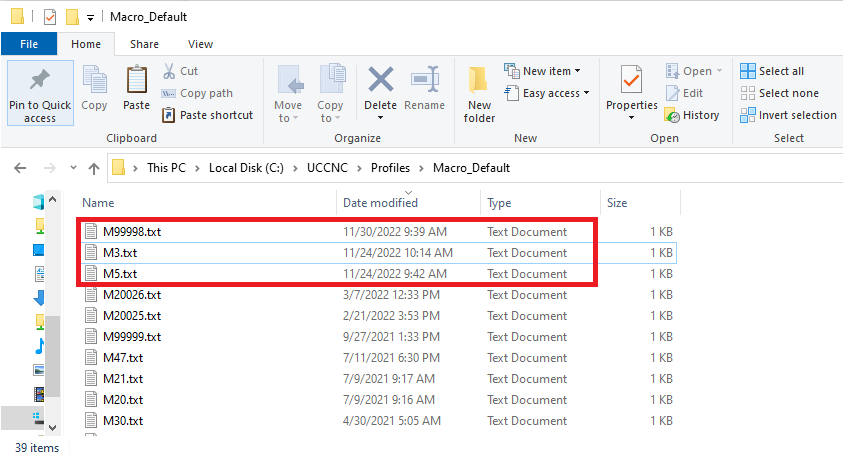
You will need to install the screen found in the download folder and place the macro in the macros directory for the profile folder.

Make a backup of the original M3, M5, and M99998 macros by zipping them into the same folder, just so you may have access to the original macros if you need to revert the installation later. Then replace the M3 and M5 macros for the profile you are configuring:
STEP 3: Configure the new Plasma Screen:
Set UCCNC to use the new screen that you just copied:

Apply Changes, Save Settings, and Restart UCCNC for all the changes to take effect.
STEP 4: Testing and Troubleshooting:
Keep in mind the macro will now execute the following actions when M3 (Start Cutting) and M5 (End Cutting):
- The Z-axis lowers until the sensor or switch on the Floating Head activates. This activation should be seen on the LED for the input pin you assigned on the Breakout Board, and on the Probe LED on the UCCNC screen.
- After the probing is completed, the Z-axis should move up to the piercing position.
- The plasma starts by activating the plasma relay and stays cutting for the duration of time that you configured or set as Pierce Time in mS.
- The Plasma stays on and continues to execute g-code and THC if implemented until an M5 is reached or e-stop is pressed.
On the Main Screen, you need to set the piercing parameters:

- Set Z_Top, which is the safe position from which you can do a rapid motion to the new cutting position.
- Set how low you want the Z-axis to go while probing or touching the plate.
- Set the THC delay or Piercing Time.
- Set the height at which you want to start cutting or do the initial pierce.
- Set the OFFSET_Z.